How it works
How the Simulator works
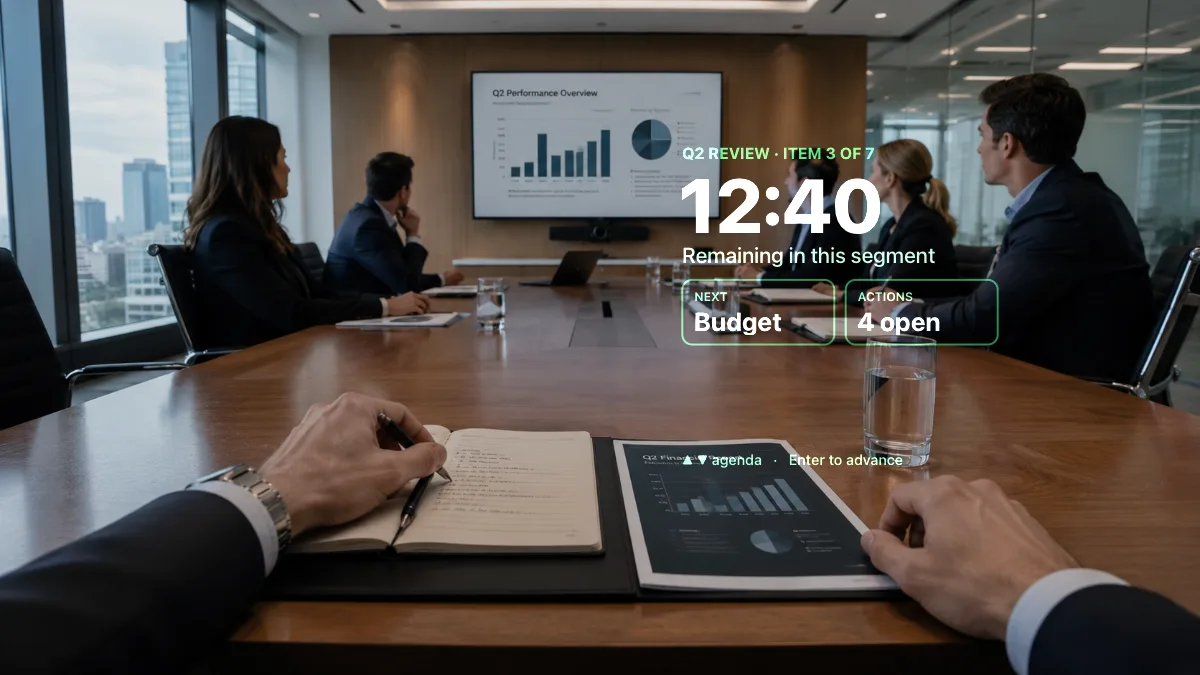
The Simulator reproduces the one property that makes display glasses different from every other screen: the image is added to the light already reaching your eye. This page explains that model and walks through each control.
The model
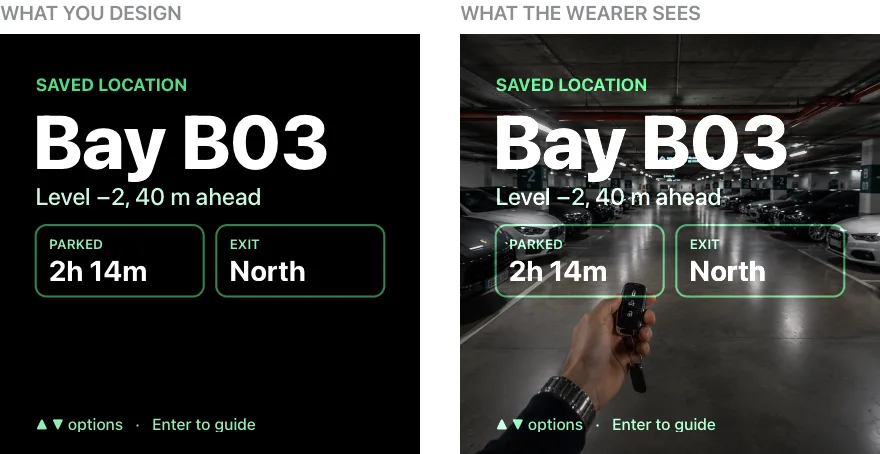
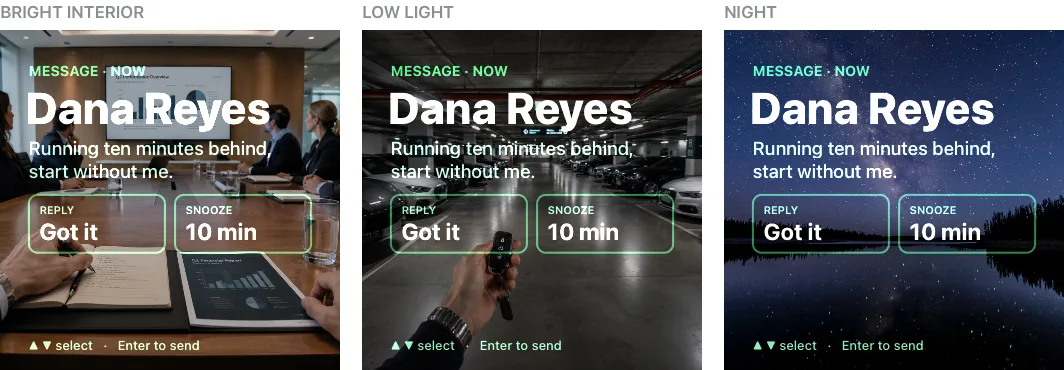
Your application is loaded into an <iframe> and composited over a background scene with mix-blend-mode: plus-lighter. That operation adds your pixels to the scene behind them, which is what an optical waveguide does when it injects projected light into the eye alongside the light passing through the lens.
One consequence governs everything else. Black emits nothing. Any area drawn at #000 is fully transparent on the glasses, and the brightness of a pixel in your design is its brightness on the lens.
Using the Simulator
1. Load an application
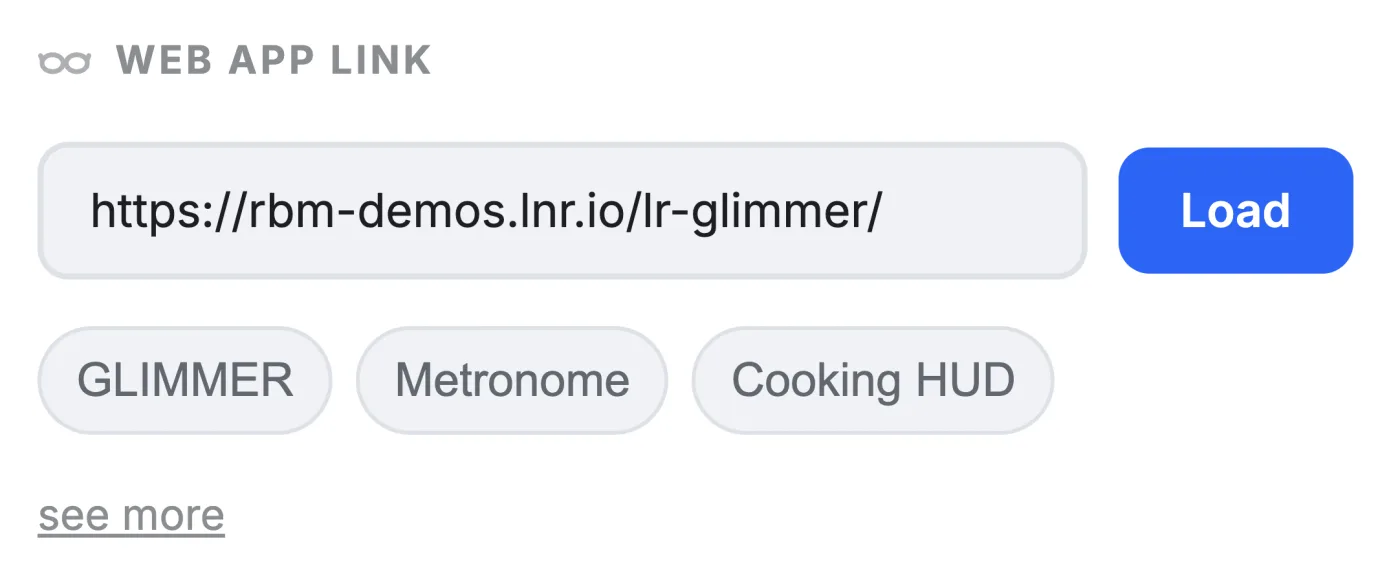
Enter any publicly reachable https:// URL and press Load. The page renders inside the display and stays fully interactive, so you can operate it the way a wearer would. Applications you load are kept under Recent apps for the session.
2. Set placement, size and brightness
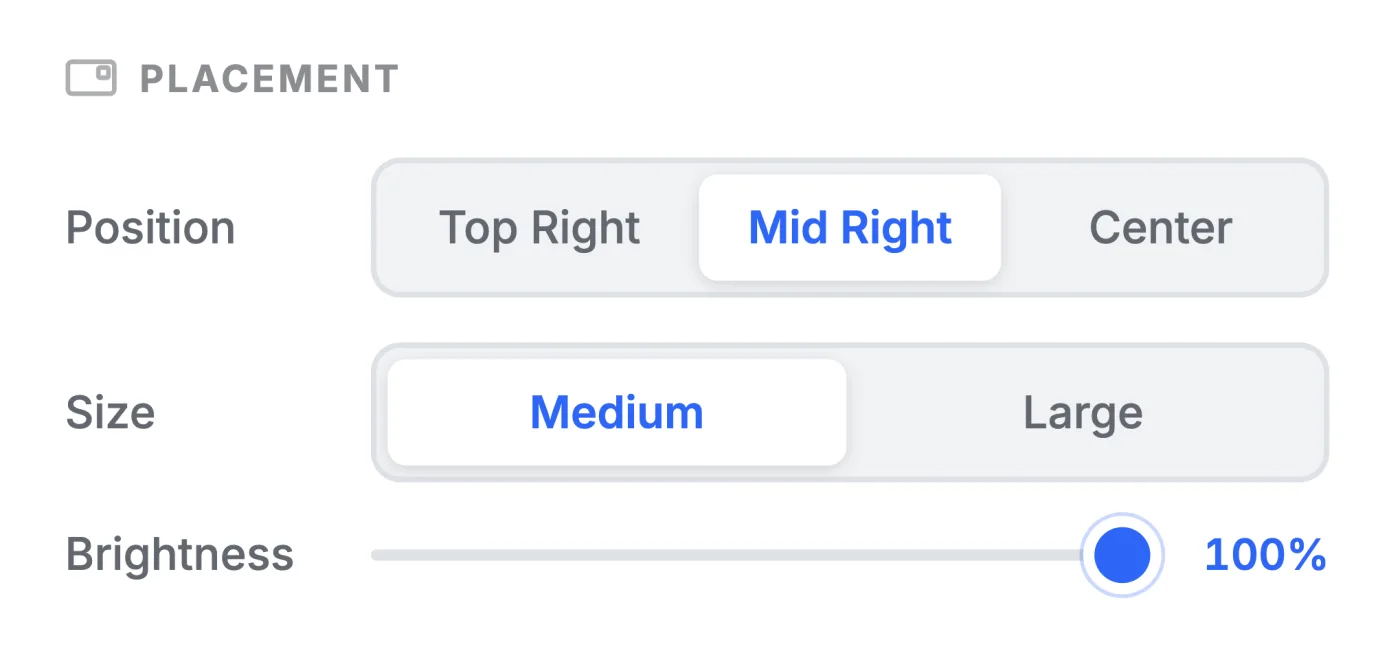
The real display is monocular and sits in the right lens, so position defaults to the right of the field of view. Size approximates how much of that field the image occupies, and brightness stands in for display output and ambient conditions.
3. Change the background scene
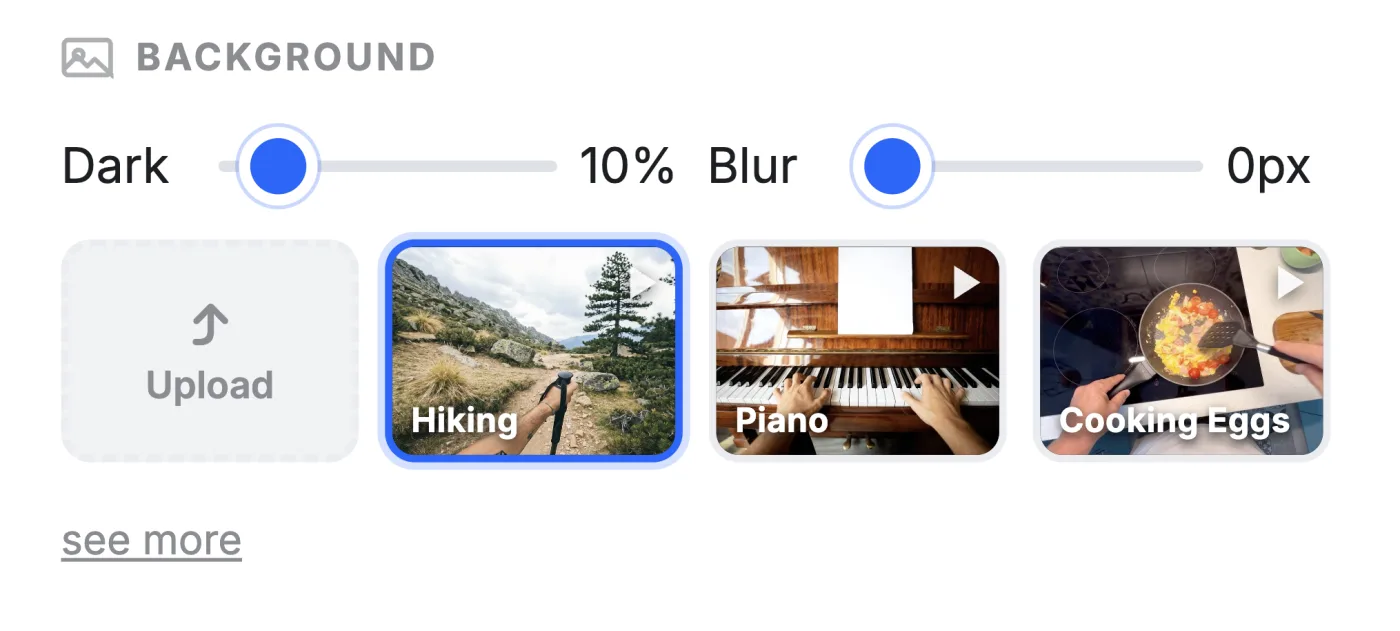
Contrast on a see-through display depends entirely on what is behind it. Scenes cover a range of lighting and motion conditions, and the Dark and Blur sliders adjust ambient level. You can also upload your own footage or image.
4. Capture, share, or open on glasses
Capture saves a still of the composited view. Record produces video, which is the only accurate way to show performance over motion. Share copies a link that restores the exact setup, including application, scene, brightness, and placement.
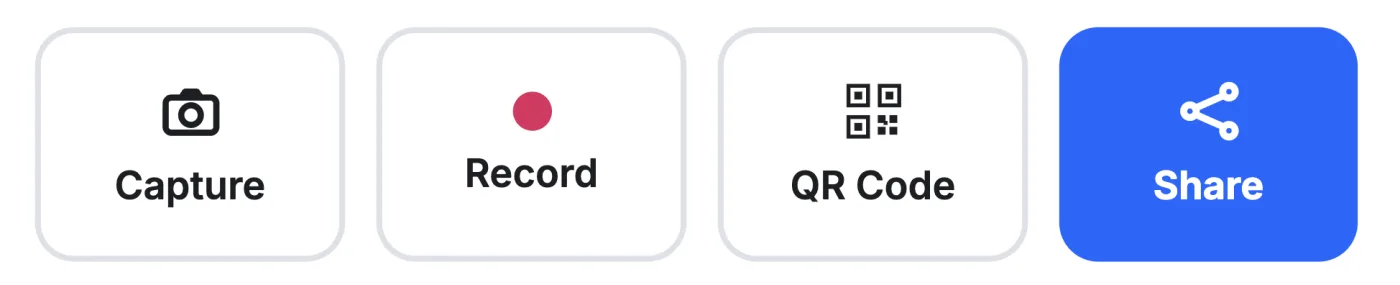
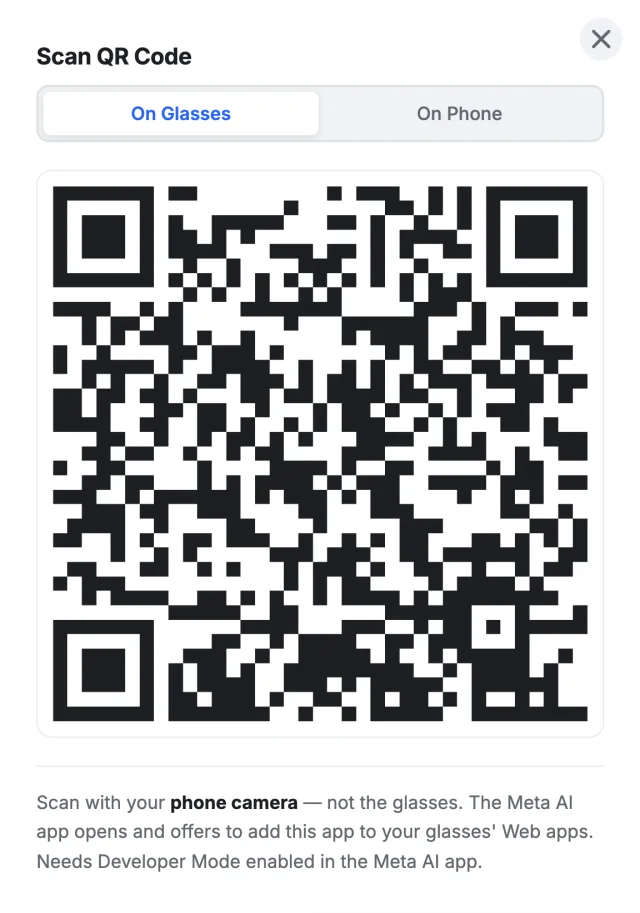
QR Code generates a scannable code for the loaded application. On glasses, say "Hey Meta, scan this QR code" and follow the notification to open it on the display. The panel can also encode the Simulator itself, so a phone camera opens your setup on another device.
What the Simulator does not model
The Simulator reproduces compositing, not optics. Waveguide artifacts such as rainbow fringing, eyebox falloff, focal distance, and direct glare are not represented. Field of view, resolution, and peak brightness also vary by device and change between hardware generations.